Introduction
Setting up a Ring security camera is a simple process, making it one of the leading smart home options available today. With its advanced features, ease of use, and stellar reputation for quality and innovation, it’s the ideal pick for those looking to bolster their home security. While the setup process is generally easy, installing new tech products can feel daunting for first-timers. Fortunately, Ring has made it user-friendly, with guides and tutorials that make it stress-free for even novices. This step-by-step process will help you complete the setup quickly and efficiently, whether you’re handling it yourself or seeking professional help.
Before you start
Before setting up your Ring camera, it’s important to be well-prepared and understand the steps involved. First, set aside time for the setup process and ensure you have everything ready. If you’re installing an Indoor Cam or stick-up cam, make sure it can be placed on a flat surface or in a location that allows for proper mounting. Plan for where the camera will be positioned, as this will help with mounting requirements. If you’re using a hardwired model, make sure the necessary electrical setup is in place before you proceed with the installation.
Choosing the Right Location for Your Ring Camera
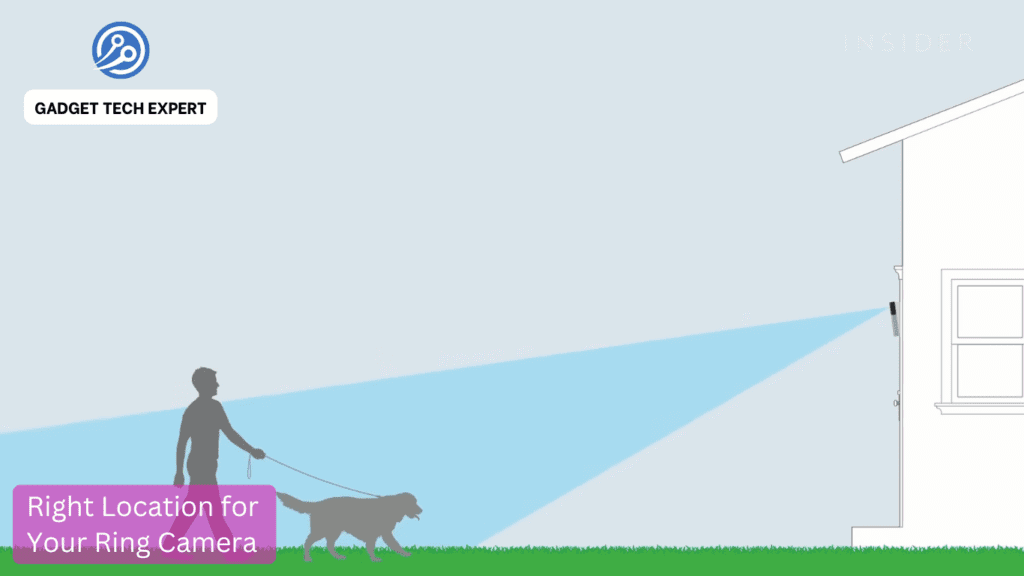
When preparing for your Ring camera installation, the first step is choosing the right location. The camera should be placed in a spot where it can easily monitor and see any far details. It’s essential to position the camera in a way that allows you to identify people. Consider important factors like height, angle, and the field of view. Your camera should be placed in a high position to provide a broad view without any obstructions. This ensures the camera doesn’t miss any important footage. Also, remember to avoid placing it in areas with direct sunlight or backlighting as this could distort the video quality, leading to unclear footage.
Protecting Your Ring Camera from Weather and Environmental Factors
When placing an outdoor security camera, it’s crucial to ensure it is positioned in a way that protects it from bad weather and environmental factors. If possible, position the camera under a gutter or shield to keep it safe from rain and snow, ensuring it can continue functioning in freezing winter conditions. The camera is designed to resist various harsh conditions, but it’s still essential to protect the lens from dirt or debris that could block the view. This helps prevent any obstructions from interfering with the camera’s performance, ensuring clear footage at all times.
Selecting the Right Surface for Mounting Your Ring Camera
When you mount your camera, the choice of surface is crucial for stability and security. Wood is one of the most common materials for mounting, and using screws works well in most cases. For concrete or other harder surfaces, you may need anchors to secure the camera in place. While drilling is often necessary for more unique surfaces, you can avoid it if you choose a wooden surface, as the screws will hold tightly. Essential to remember is that the right approaches and tools are needed for each surface to ensure a safe and secure installation without any unnecessary complications.
Tools Required for Setting Up Your Ring Camera
When setting up your Ring camera, the tools you’ll need vary depending on the type of model you’re installing. For wired models, you’ll require screws and tools for securing the camera, as well as proper wiring to connect to a power source. Ensure the voltage is correct to avoid any electrical hazards. Plugging the camera into an outlet might be necessary, especially for plug-in cameras. For outdoor installations, make sure the wiring is weather-protected to withstand harsh conditions and prevent potential electrocution risks. If you’re using a battery-operated camera, don’t forget to charge the battery before installation to ensure it runs smoothly.
How to connect your Ring camera
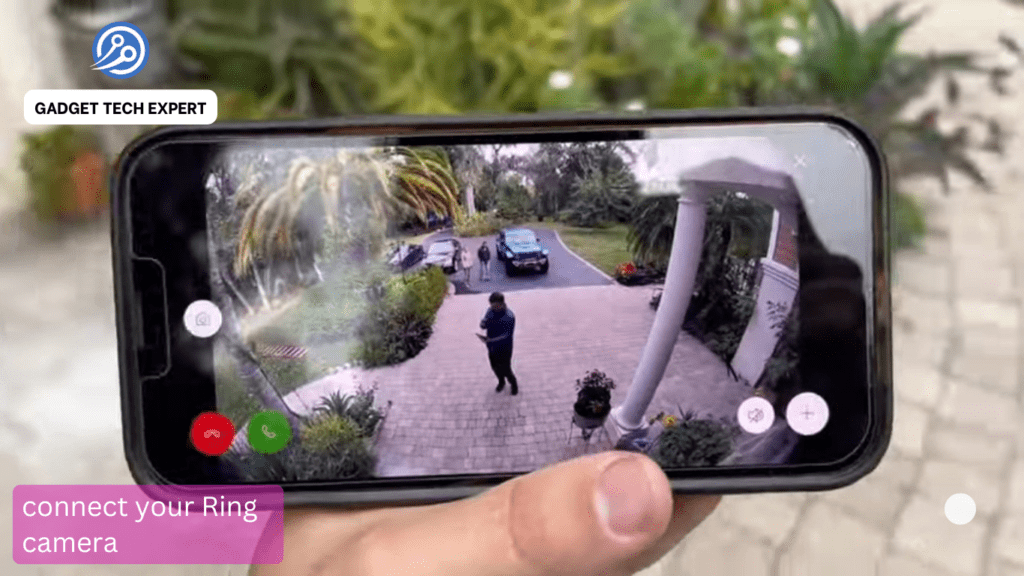
To connect your Ring camera, start by placing the camera in its intended mount. Before you begin, assess the final position and make sure it’s positioned correctly. If mounting requires drilling holes, be sure to plan carefully and avoid any obstructions. After drilling, adjusting the camera may be necessary, ensuring it’s positioned in the perfect spot. If you’d like to conceal the wires or drilled holes, consider the camera’s placement to minimize visibility.
Open the Ring app on your smartphone, and tap the menu icon in the upper-right corner. Then, select the + icon in the lower right to add your security cams. Scan the QR code on the back of the camera to pair it with your account and confirm the location. Once connected, follow the on-screen instructions to set up the camera. Make sure your Wi-Fi password is entered and that the camera is in pairing mode for a successful connection. Tap the blue continue button, and after a few seconds, your setup will be complete.
How to mount your Ring camera
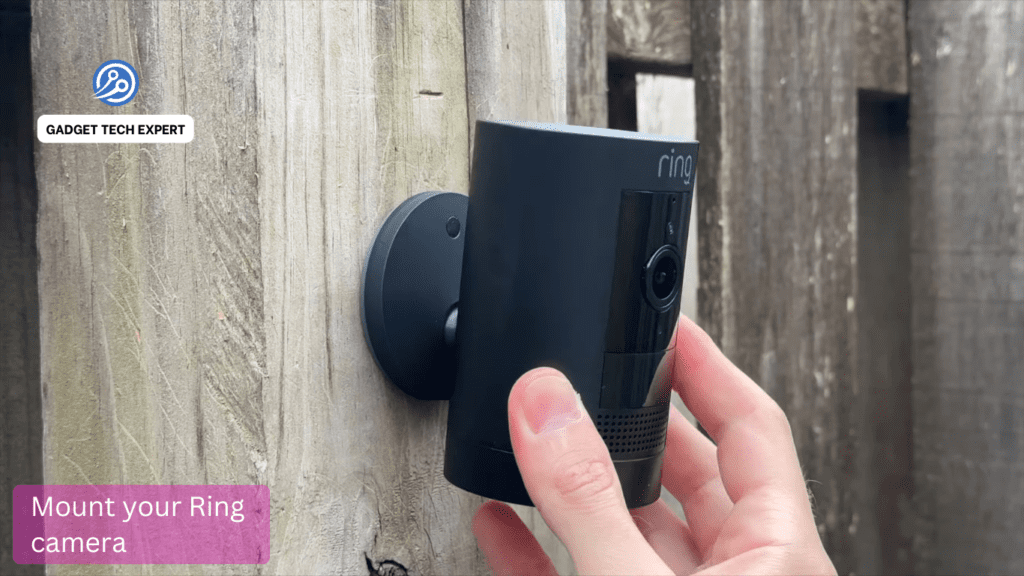
To mount your Ring camera, start by pairing the camera with the Ring app. Whether it’s the Indoor Cam, Stick Up Cam, Floodlight, or Spotlight, begin by identifying a suitable surface for mounting. If the camera has a sticker to indicate where it should be placed, use it as a guide. Move the camera to your desired height and position, ensuring the live feed will cover the area you want to monitor. For wired models, consider the plug-in cable length to ensure it reaches a nearby outlet. Tools like screws and anchors may be needed to secure the camera to the wall.
The Ring app provides step-by-step instructions for the setup process. For wired models, be sure to check the specific camera model on the Ring Support website for the correct installation guide. If needed, a printable template can assist with drilling and marking holes. Always ensure the circuit breaker is turned off before starting to avoid any power issues. Once the camera is secure, use screws to firmly attach it to the wall and complete the mounting process.
Maximizing your camera’s potential
To fully utilize your Ring security camera, make use of customizable motion zones to target specific areas and reduce unnecessary notifications. You can also set up Alexa Routines for automation, like turning on motion lights when movement is detected. For more control, integrate your camera with Amazon Alexa or IFTTT for DIY home security solutions, such as activating sprinklers or setting alerts while on vacation. This allows you to tailor the system to fit your needs.
Related Article:
How to set up a Ring doorbell
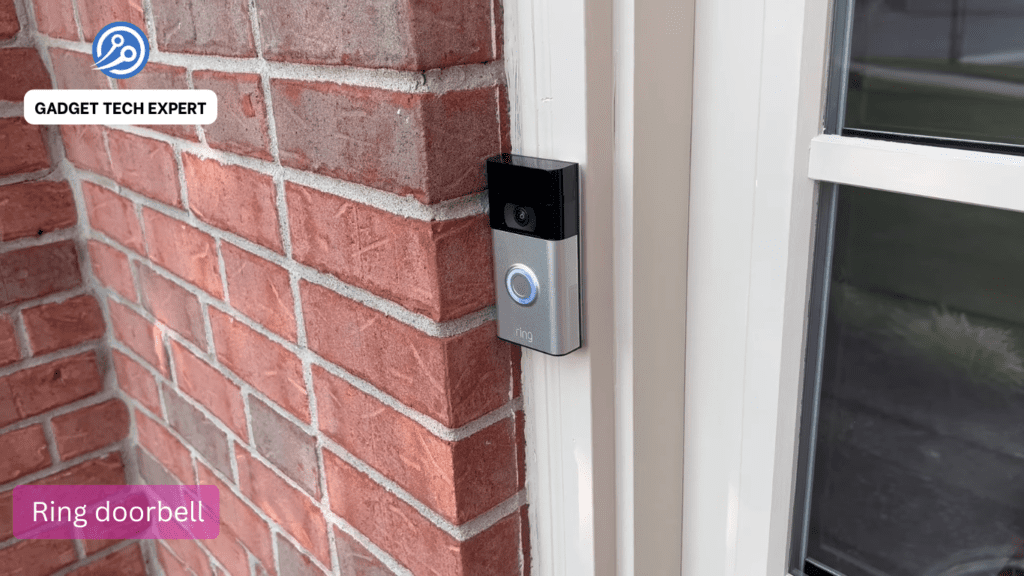
Setting up a Ring doorbell is simple with the right step-by-step instructions. Whether you are installing a wired or battery-powered model, the process is smooth and easy to follow. From placing the devices to connecting the wires, the installation is designed to be user-friendly. You can find helpful tips and tricks to make the process even quicker.
Introduction
If you’re setting up a Ring doorbell in your home, don’t let the task intimidate you. Many people feel overwhelmed with new projects, but rest assured that this setup is quick and simple. The setup comes with everything you need in the box, and you’ll be ready to go in no time. Don’t put it off—your Ring doorbell will be right in place once you follow the instructions carefully.
Setting up a Ring doorbell in your home can replace your old traditional doorbell. The system can be easily installed with low-voltage wiring if you choose a wired model. If you prefer, you can use the existing wires for power, or you may opt for one of the battery-powered models to avoid dealing with electricity. This way, you can skip the mess of working with wires and get the setup done quickly.
If you’re still unsure, help is always available. Follow the step-by-step instructions for your specific Ring doorbell model, whether it’s wired or battery-powered. The instructions will guide you through the process, ensuring you get your new device set up properly without stress.
How to set up a battery-powered Ring doorbell
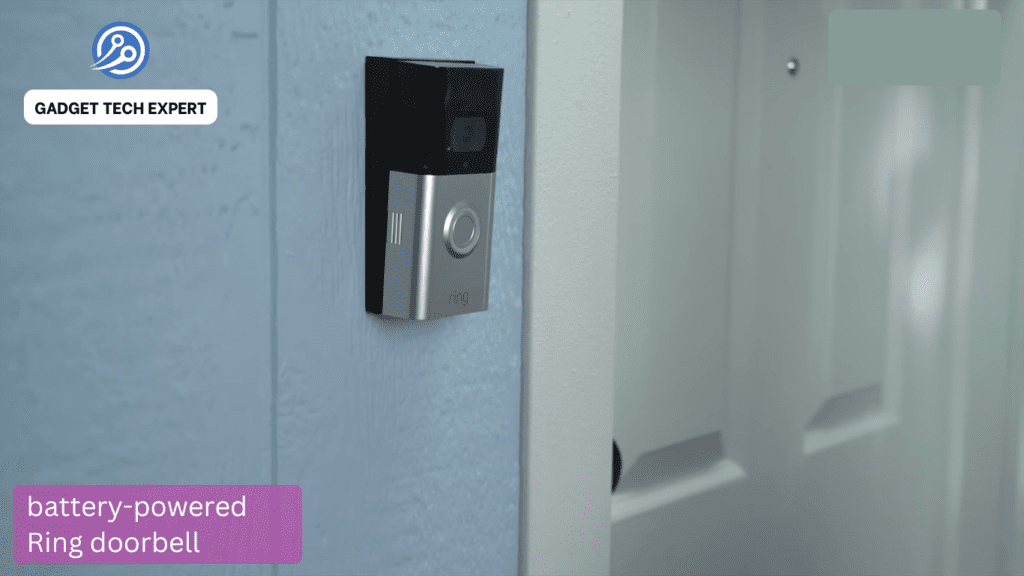
Setting up a Ring battery-powered model, such as the Video Doorbell 2nd Generation, Battery Doorbell Plus, or Battery Doorbell Pro, is a straightforward process. Here’s what to do:
- Charge the battery of your Ring device (the removable or integrated battery).
- Install the mobile app on your phone and set up your Ring account. Connect the device to your Wi-Fi router.
- Mount the Ring doorbell to your desired location using the installation tools provided.
- Place the faceplate onto the mounting bracket and ensure it’s in the correct position. Use a level to mark the mounting spots.
- If installing on brick, concrete, or stucco, use a drill and a special drill bit to create pilot holes for the mounting screws.
- Screw the Ring device into place using the provided mounting screws.
- Insert the removable battery and then attach the faceplate.
- Use a special screwdriver to tighten the security screw and secure the Ring doorbell.
How to set up a wired Ring doorbell
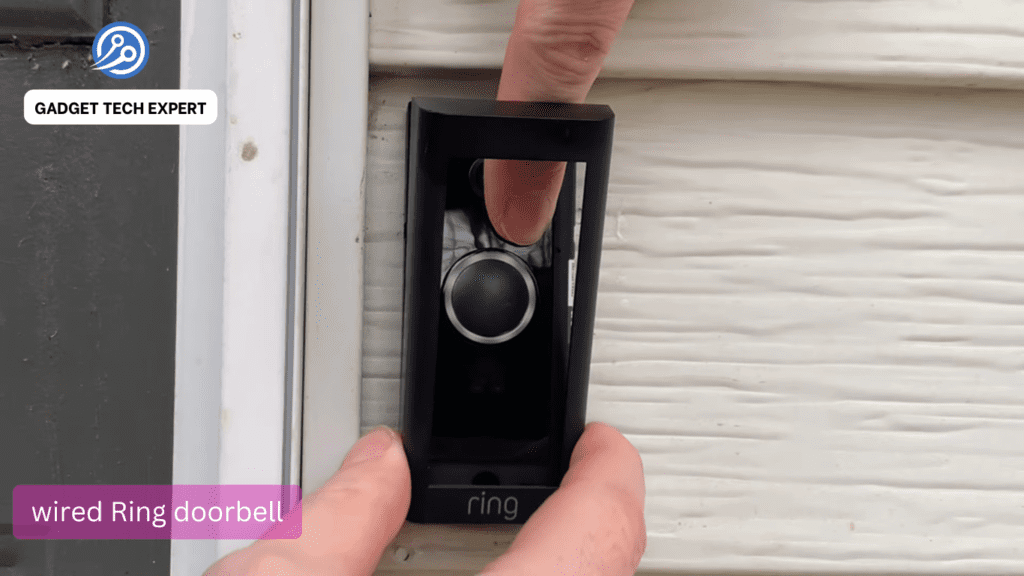
Setting up wired models like the Video Doorbell, Doorbell Plus, and Doorbell Pro is similar to setting up a battery model, but with a few additional steps for the wiring process. Here’s what to do:
- Install the Ring mobile app on your phone and follow the instructions to create a Ring account. After that, sign in and configure your new doorbell.
- Disable power at the breaker box to ensure safety. Make sure the breaker controlling the power to your front door is turned off before proceeding.
- Find your chime box near the front door and pop the cover off (depending on the model purchased).
- If installing the Chime Power Kit (as the name implies, it helps provide power), attach the jumper cable to the Trans terminals. Loosen the screws and then attach the power kit jumper to the terminals. Tighten the screws.
- At the front door, remove the old doorbell by unscrewing it from the wall. Unscrew the wires and tape them securely so they don’t fall into the hole.
- Mark the mounting holes for the new Ring doorbell using a pencil and drill them, ensuring the mounting material matches your surface (brick, concrete, or stucco). For harder surfaces, use a special drill bit to create pilot holes.
- Connect the wires to the Ring doorbell and secure them with the provided screws. If needed, use the extension nuts from the packaging.
- Once installed, reattach the faceplate and tighten it with a screwdriver, using the special security screw at the bottom to prevent disconnecting.
- Go back to the breaker box, turn the power back on, and follow the final setup steps on the Ring app.
Next, learn about some Wired vs Battery Powered Camera: Which is Better?
FAQs
How can I set up my Ring camera?
Download the Ring app, create an account, select “Set Up a Device,” and follow the on-screen instructions to connect your camera.
How do I connect my Ring camera to Wi-Fi?
Select your Wi-Fi network and enter the password during setup in the Ring app. Ensure your phone is connected to Wi-Fi.
Can I connect my Ring camera to my phone?
Yes, by downloading the Ring app and following the setup instructions, you can view and control your Ring camera from your phone.
How do you set up a used Ring security camera?
Hold the setup button to reset the used camera, then follow the regular setup process in the Ring app.
How do you set up a Ring Doorbell for the first time?
Download the Ring app, create an account, select “Set Up a Device,” and follow the instructions to connect your doorbell.
How to connect your Ring Doorbell to Wi-Fi?
In the Ring app, select your Ring Doorbell, choose your Wi-Fi network, and enter the password for the connection.
Can you set up a Ring Doorbell yourself?
Yes, the setup process is simple. You can do it yourself with the Ring app, following the included instructions.
How do I set up my Ring Doorbell that’s already installed?
Open the Ring app, select your installed doorbell, and follow the prompts to connect it to your Wi-Fi and account.
Learn more about Ring Cameras on their official website.
You May Also Be Interested In:
Passionate tech blogger sharing practical tips and solutions about Security cameras and smart gadgets. With a focus on user-friendly guides, Hassan simplifies tech for everyone. Connect with me for more insights!

