Home security has become a priority for many, and Arlo cameras are an excellent choice for ensuring safety. However, to get the best out of your Arlo system, it’s essential to set it up correctly and optimize its features. This guide walks you through the step-by-step process of setting up your Arlo camera system and offers tips on optimizing its performance.
Step-by-Step Guide to Setting Up Your Arlo Camera System

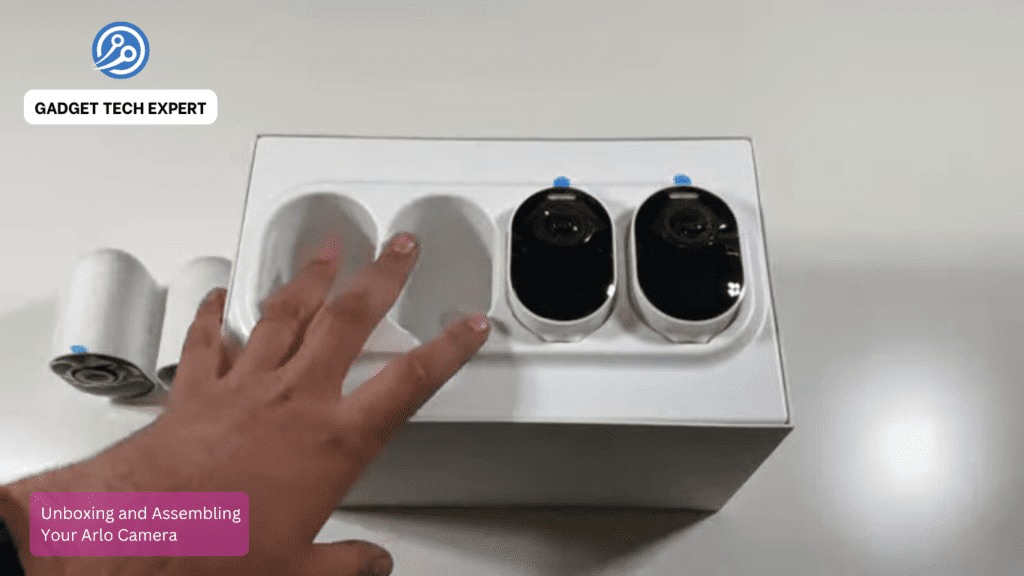
1. Unboxing and Assembling Your Arlo Camera

When you unbox your Arlo camera, ensure all components are included, such as the camera, mounting brackets, screws, and power adapters.
- Charge the camera if it’s a wireless model.
- Attach the batteries or connect the power supply for wired options.
2. Connecting to the Arlo App
- Download the Arlo app from your device’s app store.
- Create an Arlo account or log in to an existing one.
- Follow the on-screen instructions to sync your camera with the app.
3. Pairing the Camera with the Base Station (if applicable)
For Arlo systems with a base station:
- Connect the base station to your Wi-Fi router using an Ethernet cable.
- Power on the base station and sync it with your camera via the app.
4. Installing the Camera
- Choose the best placement for your camera (discussed below).
- Use the provided mounting hardware to secure the camera.
- Test the camera’s field of view through the app to ensure optimal coverage.
Best Placement Tips for Arlo Cameras: Maximize Coverage
Proper placement of your Arlo cameras can significantly enhance their effectiveness. Here are some tips:

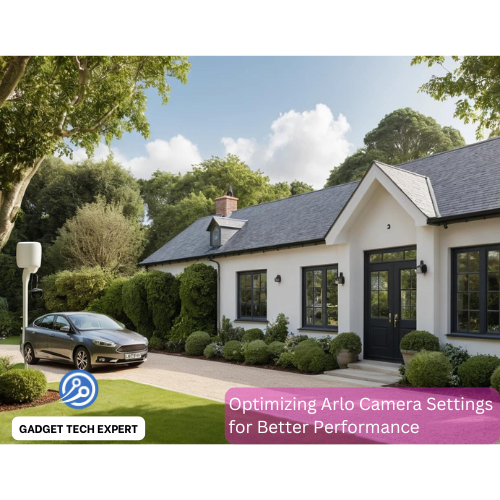
- Entry Points: Cameras should be placed at main entry points, such as front and back doors, to monitor visitors and deliveries.
- High Ground: Mount cameras at least 7-10 feet above the ground to avoid tampering and get a broader view.
- Avoid Glare: Position cameras away from direct sunlight or reflective surfaces to prevent glare on footage.
- Wi-Fi Range: Ensure cameras are within the range of your Wi-Fi or base station for uninterrupted connectivity.
- Overlap Coverage: For larger areas, use multiple cameras with overlapping fields of view to eliminate blind spots.
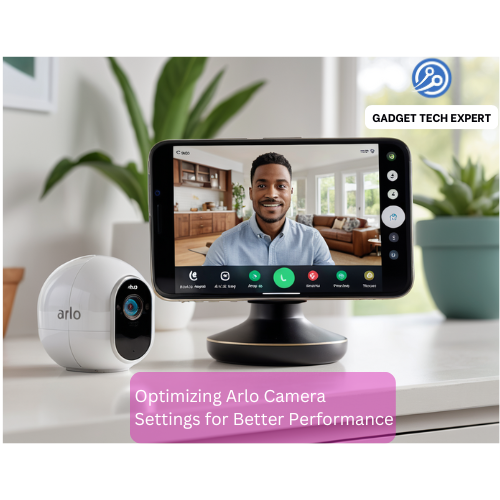
Optimizing Arlo Camera Settings for Better Performance

1. Motion Detection
Adjust the motion sensitivity in the Arlo app to avoid false alerts from pets or swaying trees. Use activity zones to focus on critical areas.
2. Night Vision
Enable night vision mode for 24/7 monitoring. Cameras like the Arlo Ultra 2 also offer color night vision for detailed footage even in the dark.
3. Recording Quality
Set the resolution to the highest supported by your camera, such as 1080p or 4K, for clear recordings. Keep in mind that higher resolution may use more storage and bandwidth.
4. Cloud and Local Storage
Opt for a storage plan based on your needs. While cloud storage offers convenience, local storage via a USB or microSD card provides cost-effective backup options.
5. Smart Notifications
Customize notifications to get alerts for specific activities, such as people, vehicles, or packages, while minimizing unnecessary alerts.
Troubleshooting Common Issues
- Connectivity Problems:
- Ensure your Wi-Fi signal is strong and stable.
- Restart the base station and camera if syncing fails.
- Battery Drain:
- Reduce motion sensitivity or recording duration for wireless cameras.
- Use activity zones to focus only on essential areas.
- Blurred Footage:
- Clean the camera lens regularly.
- Adjust the position for optimal focus and lighting.
Related Article:
Pros and Cons of Arlo Camera Systems
Pros:
- High-definition video quality.
- Easy installation and wireless options.
- Advanced features like motion detection and smart notifications.
Cons:
- A subscription is required for advanced features like AI detection.
- Wireless models may require frequent battery replacements.
Conclusion
Setting up and optimizing your Arlo camera system is straightforward and ensures you get the best performance. By following placement tips, adjusting settings, and addressing common issues, you can enhance and maximize your home security. Invest time in proper setup and enjoy peace of mind knowing your property is well-protected.
Related Article:
FAQs
How can I improve my Arlo connection?
To improve your Arlo connection, ensure the camera is within range of your Wi-Fi or base station. Minimize interference by placing the router or base station in an open area, away from walls or electronic devices. Upgrading to a dual-band router or a Wi-Fi extender can also help improve connectivity.
How do I get better picture quality from my Arlo camera?
You can improve picture quality by selecting the highest resolution available in the Arlo app settings. Clean the camera lens regularly to avoid blurry footage, and ensure the camera is positioned in a well-lit area for clear visuals. For night footage, ensure night vision mode is enabled.
How do I set up my Arlo system?
To set up your Arlo system, download the Arlo app and create an account. Connect the base station (if required) to your router, then power it on. Follow the app’s step-by-step instructions to pair your cameras, install them in desired locations, and test their views for optimal coverage.
How do you adjust Arlo’s camera settings?
To adjust Arlo camera settings, open the Arlo app and select the camera you wish to modify. From there, you can customize settings such as motion sensitivity, resolution, activity zones, and notification preferences. Save your changes to apply them instantly.
Learn more about Arlo Cameras on their official website.
You May Also Be Interested In:
Passionate tech blogger sharing practical tips and solutions about Security cameras and smart gadgets. With a focus on user-friendly guides, Hassan simplifies tech for everyone. Connect with me for more insights!


